– Guide updated July 2026 –
The Philippine eTravel system is an online travel registration platform and one of the entry requirements for the Philippines. Before your trip, you must provide information about yourself and your journey through the official eTravel platform.
Although the process is relatively straightforward, some sections of the registration form can be confusing, especially if you are completing it for the first time. Based on the questions we regularly receive through our website and social media channels, we’ve created this detailed guide explaining how to complete the Philippines eTravel registration quickly and correctly.
It only takes a few minutes, and below we’ll walk you through the entire process step by step. Let’s get started!
When and where to complete your Philippines eTravel registration
Before we begin the step-by-step guide, there are two important things you need to know: where to register and when to do it.
First, be careful when searching online, as some third-party websites imitate the official platform and charge travelers unnecessary fees. The Philippines eTravel registration is completely free and should only be completed through the official government platform: official Philippines eTravel website.
You can complete your Philippines eTravel registration within the 72 hours before your scheduled arrival in the Philippines. If you try to register earlier, the system will not allow you to select an arrival date outside this time frame.
We strongly recommend completing your eTravel registration before checking in for your flight. The registration window opens 72 hours before your scheduled arrival, and airlines may ask to see your QR code before boarding. Once you have completed the form, save the QR code on your phone or download a copy so that you can present it whenever requested during your journey.
What you need to complete your Philippines eTravel registration
Before you start, make sure you have the following information and documents ready so you can complete the registration without interruptions:
- Your passport.
- A recent passport-style photo or a clear selfie that you can upload during the registration process.
- Your flight details, including your airline, flight number and arrival airport.
- Your intended departure date from the Philippines.
- The address of your accommodation in the Philippines.
Got everything ready? Then let’s begin:
How to complete the Philippines eTravel registration step by step
Now let’s go through the entire Philippines eTravel registration process step by step. It’s a straightforward form, but this guide will help you avoid the most common mistakes.
To begin, visit the official eTravel website:
https://etravel.gov.ph/authentication
IMPORTANT: Based on our experience, we recommend avoiding your browser’s automatic translation feature while completing the form. It may interfere with some fields or cause information you have entered to be lost. You do not need to download an app, as the eTravel website works on both mobile devices and computers. Registration is also available through the official eGovPH app, although we find the website more straightforward.
The first step is to create your account. Enter your email address, then type the 6-digit verification code that will be sent to your inbox. Once your email has been verified, you can begin entering your personal information.
You will need to complete the following fields:
- Upload a recent passport-style photo or take a selfie. For best results, use a plain background and make sure your face is clearly visible.
- First name.
- Middle name (optional).
- Last name.
- Suffix (optional).
- Gender.
- Date of birth.
- Country code and phone number.
- Nationality.
- Country of birth.
- Passport number.
- Passport issuing country.
- Passport issue date.
- Occupation.
Once you’ve completed these fields, click “Next”.

Next, you’ll be asked to enter your residential address:
- Country of residence.
- Your full address.
- If necessary, use the optional second address line to complete it.
Click “Next” to review a summary of the information you have entered. If you spot any mistakes, correct them before continuing. Once everything is correct, click “Next” again.

Once you’ve finished this section, your profile will be created. The next step is to enter the details of your trip.
- Select “For me” if you are completing the registration for yourself.
- If you are arriving in the Philippines by plane, select “Air”.
- Select “Arrival”.
Click “Continue” to enter your travel information:
- Reason for travel: select “Holiday” (or the option that best matches the purpose of your trip).
- Traveler type: “Passenger”.
- Airline name.
- Flight number.
- Country of origin.
- Departure airport.
- Departure date.
- Intended departure date from the Philippines.
- Arrival airport.
- Arrival date.
- Accommodation type: if you are staying in a hotel, select “Hotel”.
- Search for and select your accommodation. If your hotel does not appear, choose the closest available match or use the manual entry option if the system provides one.
Click “Next”. You will then be asked a few health-related questions:
- Countries you have visited during the last 30 days.
- Whether you have been in contact with anyone who was sick or had an infectious disease during the last 30 days.
- Whether you have been ill during the last 30 days.

You’re almost finished. Next, review the list of prohibited and restricted items. If none of them apply to you, select “No” and continue with the remaining questions:
- The number of adults and minors traveling with you.
- The number of checked bags and carry-on bags you are bringing.
- Whether this is your first visit to the Philippines.
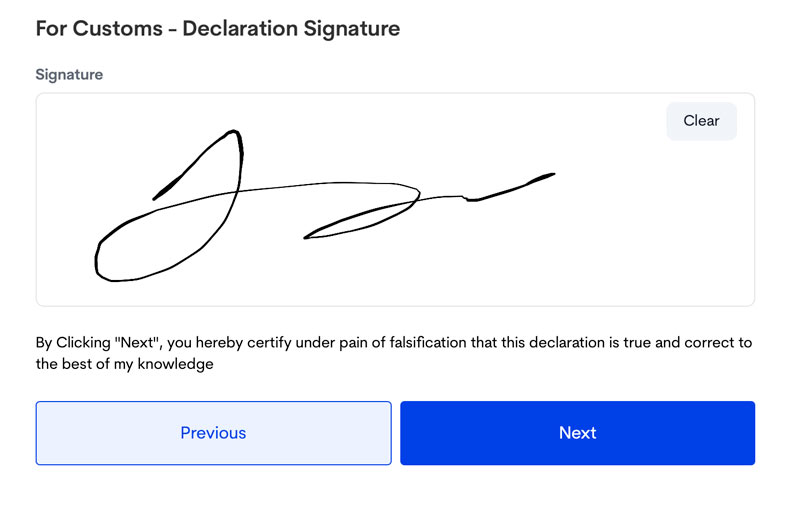
Click “Next” once again. You’ll be asked to review all the information you’ve entered one final time before providing your electronic signature and submitting the registration.
You’re done! If everything has been completed correctly, your Philippines eTravel QR code will be generated immediately. We recommend downloading it or taking a screenshot before leaving the website, as you’ll need to present it during your journey. You can also print it if you prefer. A copy will be sent to your email address as well. Your QR code may be green or red. A green QR code means that the information submitted is complete and you can proceed to immigration upon arrival. A red QR code means that the Bureau of Quarantine must carry out an additional check before you continue to immigration.
If you need to update any of the information you submitted, you can do so through the “Edit Registration” section of the official eTravel website. Simply enter your reference number and date of birth to retrieve your registration. You can edit some of your details until your registration has been processed and verified by the Bureau of Quarantine or the Bureau of Immigration.
Keep your QR code easily accessible throughout your journey, as airline staff or Philippine authorities may ask to see or scan it during check-in, arrival or customs procedures.

That’s it! Your Philippines eTravel registration is complete, and you’re one step closer to your trip. Safe travels!
Another essential document for traveling to the Philippines
As we explain in our Philippines travel requirements guide, the eTravel registration is only one of the entry requirements you should prepare for before your trip. Although travel insurance is not currently an entry requirement for most tourists, we strongly recommend having comprehensive coverage, as medical treatment, hospitalization, emergency evacuation and repatriation can be extremely expensive.
In our guide Best travel insurance for the Philippines, we explain why we’ve relied on travel insurance for years. It has covered thousands of dollars in medical expenses during our trips, including more than $32,000 following a three-week hospitalization in Manila in 2019 and approximately $1,400 after contracting dengue in Bohol in 2022. Besides medical coverage, a good travel insurance policy can also protect you against theft, lost or delayed baggage, transport disruptions and emergency medical evacuation or repatriation.
As a reader of our website, you can also enjoy an exclusive 5% discount when purchasing your policy through any of the links on this page.

TIP: We also recommend adding the optional “Trip Cancellation Add-on” to your policy. If you need to cancel your trip for one of the covered reasons (such as involuntary job loss, your hospitalization or that of a close family member, or the death of a close relative), you could be reimbursed for your prepaid, non-refundable travel expenses, up to the policy limit.
Frequently asked questions about the Philippines eTravel
To finish, we’ve gathered the questions we receive most often from our readers about the Philippines eTravel registration. If you can’t find the answer you’re looking for, leave us a comment below and we’ll be happy to help. We may even add your question to this guide to help future travelers.
Is eTravel required for the Philippines?
Yes. Foreign tourists arriving in the Philippines are required to complete the eTravel registration. Limited exemptions apply to certain diplomats, dignitaries and holders of diplomatic, official or service passports.
How much does the Philippines eTravel cost?
Nothing. The Philippines eTravel registration is completely free. Be cautious of third-party websites that charge a fee to complete it on your behalf.
What documents do I need to enter the Philippines?
Besides completing the Philippines eTravel registration within the 72 hours before your arrival, you will generally need a passport valid for at least six months beyond your intended stay. Depending on your nationality and immigration status, you may also need a visa. Visa-exempt tourists are generally required to hold a return or onward ticket within their permitted period of stay. Travelers arriving from, or who have recently transited through, countries with a risk of yellow fever transmission may also need to present a valid yellow fever vaccination certificate, so check the requirements for your specific itinerary before traveling.
When can I complete my Philippines eTravel registration?
You can complete your registration within the 72 hours before your scheduled arrival in the Philippines. We recommend doing it as soon as the registration window opens so that your QR code is ready before you check in for your flight.
That’s the end of our updated Philippines eTravel guide. We hope it has made the process a little clearer. If you have any questions, feel free to leave them in the comments below—we’ll do our best to help. Have a fantastic trip!